Of all the tools in a photographer’s digital darkroom, the histogram is arguably the most crucial for achieving technical excellence. Despite its intimidating, graph-like appearance, mastering it is the key to unlocking full control over exposure and tone. Simply put, a histogram is a graphical representation of the tonal values in your photograph. It charts the distribution of pixels from pure black on the left to pure white on the right, with all the mid-tones in between. The height of the graph at any point indicates the number of pixels at that specific brightness level.
Understanding this graph transforms it from an abstract chart into a powerful diagnostic tool. It provides an objective, scientific analysis of your image’s exposure, free from the biases of your camera’s LCD screen, which can be affected by ambient light and factory settings.
How to Use the Histogram in Photography and Photo-Editing
The histogram is useful from the moment you decide on your shot to the final export of your edited image.
1. For In-Camera Photography: The Ultimate Exposure Check
The primary use of the histogram while shooting is to avoid “clipping.” Clipping occurs when tonal information is lost because pixels are pushed to pure black (shadow clipping) or pure white (highlight clipping).
- Avoiding Blown Highlights: If the graph is slammed up against the right-hand edge, you have lost detail in the brightest parts of your image. These “blown highlights” are often unrecoverable. To fix this, you would dial in a faster shutter speed, a smaller aperture (higher f-number), or a lower ISO to darken the exposure.
- Managing Blocked-Up Shadows: If the graph is slammed against the left-hand edge, you have lost detail in the darkest shadows, creating solid black areas. While sometimes acceptable for dramatic effect, it’s often best to avoid this. To fix it, you would use a slower shutter speed, a wider aperture (lower f-number), or a higher ISO to brighten the exposure.
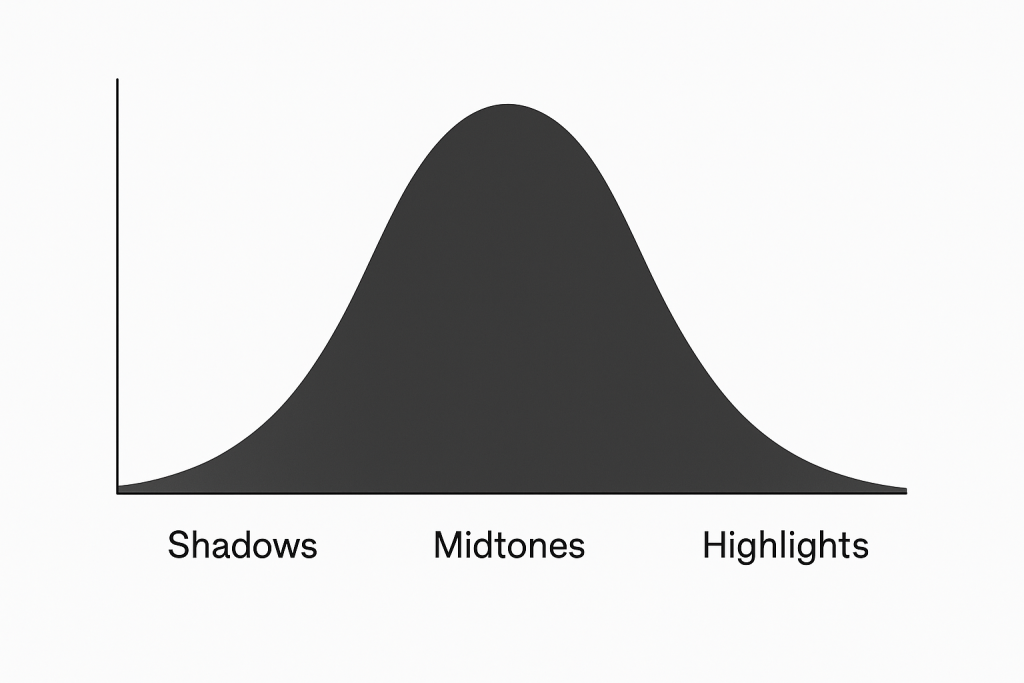
The ideal “in-camera” histogram is (as the one above shows), one that is weighted appropriately for the scene without touching either edge. For a high-key (bright) scene, the graph will naturally be shifted to the right; for a low-key (dark) scene, it will be shifted to the left. The goal is to capture the full range of tones the sensor can record, a technique known as Exposing to the Right (ETTR), where you expose as brightly as possible without clipping important highlights. This maximizes signal-to-noise ratio and provides the cleanest data for post-processing.
2. For Photo Editing: A Guide for Precision Adjustments
In photo editing applications like Photoshop,ON1, Luminar etc the histogram becomes an interactive control panel, guiding your edits with precision.
- Targeted Adjustments: You can click and drag directly on different parts of the histogram to adjust corresponding sliders. Dragging the left side adjusts the “Blacks,” the middle-left the “Shadows,” the middle-right the “Highlights,” and the far right the “Whites.” This allows for incredibly intuitive and targeted tonal corrections.
- Visual Feedback for Editing: As you move sliders like Exposure, Contrast, or the tonal curve, the histogram updates in real-time. This provides immediate feedback on the impact of your edits. If you see a large spike forming at either end, you know you are pushing the tones too far and risk losing detail.
- Color Channel Analysis: Most advanced editors allow you to view not just the luminance (brightness) histogram, but also the individual Red, Green, and Blue (RGB) histograms. This is invaluable for checking for color clipping, where a color channel loses detail and becomes a solid, oversaturated blob, allowing you to correct it before it becomes a problem.
In conclusion, the histogram is not a creative tool in itself, but the foundational technical tool that enables creative freedom. It empowers the photographer to capture the best possible raw data in-camera and then provides a precise, objective map for shaping that data in post-production. By learning to read and use it effectively, you move from guessing about exposure to knowing with certainty, ensuring your images are technically sound and full of rich, recoverable detail from shadows to highlights.