This tutorial and notes provide expert advice for enhancing spring landscape photographs using ON1 2026.
The guide outlines how to use the Color Enhancer tool to isolate and brighten specific hues, ensuring that vibrant seasonal tones truly stand out. It also suggests applying a glow filter to introduce a soft, ethereal contrast that elevates the overall atmosphere of the shot. To create more dynamic images, the author demonstrates how to manually paint light into scenes using local adjustments and gradient masks for better depth. Additionally, the text explains how to apply detailed sharpening to particular foreground colours while avoiding busy background elements.
Finally, the source recommends employing a reflected gradient to focus light on the centre of the frame, resulting in a more captivating and professional composition.
From Flat to Flourishing: 5 Pro Secrets
Spring landscapes often suffer from flat light and chaotic colors. While a raw file might look dull initially, ON1 Photo RAW offers the surgical precision needed to bring these scenes to life. Let’s move beyond global filters and start crafting the light and color your unique vision demands.
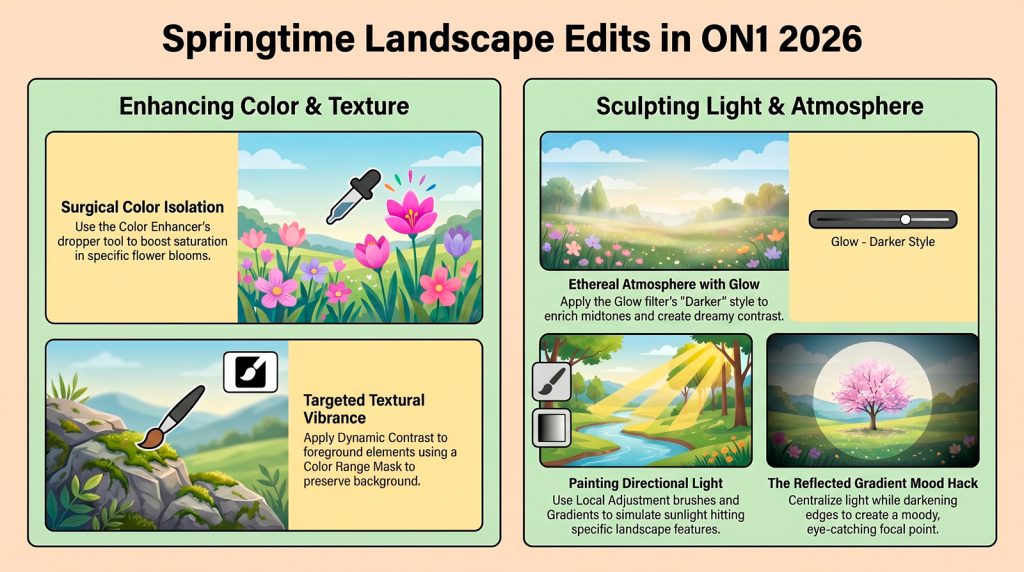
Tip 1: Surgical Color Isolation
Use the Color Enhancer to pop individual colors without a muddy, “global” look. Within the Color Range section, target specific hues like yellows to boost saturation. The secret is the Range slider; use it to fine-tune exactly which tones are affected. For ultimate precision, use the Color Dropper to sample the exact tone directly from your image.
Tip 2: Mastering Ethereal Atmosphere
Avoid the harshness of standard contrast sliders. Instead, apply the Glow filter for a soft, dreamy contrast. I often use the “Darker” style for depth, but check the “More” menu for “Charge More Strong.” These styles enrich the tonal range and midtones in a way that standard adjustments simply cannot replicate.
Tip 3: Sculpting Directional Light
Don’t settle for the light you captured—sculpt it. Use Local Adjustments with a Gradient Mask set to “Lighten” to simulate sunlight. The pro move is the “Brush + Gradient” combo: use the Masking Brush to paint that same light into specific areas, like a waterfall’s edge, to create realistic, directional depth.
Tip 4: Textural Vibrance
To make foreground flowers sing, apply Dynamic Contrast using the “Surreal” style. This filter’s Vibrant slider is a specialist favorite because it enhances color and texture simultaneously. Use a Color Range Mask to target the flowers. Because these masks protect the color by default, click Invert to apply the effect to the petals, then use a secondary Gradient Mask to exclude the distant mountains.
Tip 5: The Reflected Gradient Mood Hack
Use the Reflected Gradient in Local Adjustments to centralize light. Pull down the exposure at the frame’s edges and cool the temperature for “stormy moody vibes.” For a master-level finish, stack this with a Glow or Photo Filter to add warmth back into the focal point.