How To Generate Your First AI Image in FOUR EASY Steps
Welcome! This guide will take you step-by-step through using the “Create Image” function, adding your own photos, writing a prompt, and generating a brand-new image.
Even if you have never used AI before, these four simple steps will have you creating images in no time. It has been tested with Google Gemini and Chat- GPT.
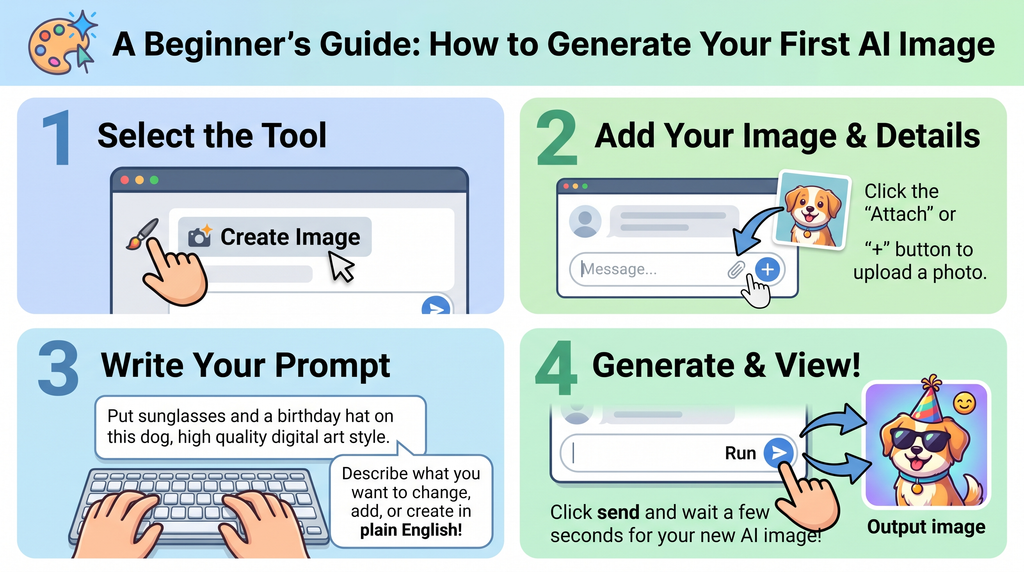
Step 1: Select the Tool
Before you begin, you need to tell the AI what kind of task you want to do.
- Look at the chat or feature bar at the bottom of your screen.
- Find and click on the “Create Image” button (it usually has an icon of an artist’s brush, a camera, or a palette).
- Clicking this prepares the AI to generate or edit a picture for you.
- Alternatively it may just be a simple plus sign (+)
- Just click on that and it will launch a ‘drop down’ menu, look for ‘Create Image’ and select that.
Step 2: Add Your Image & Details
If you want the AI to base its creation on an existing photo (like a picture of your pet, a landscape, or yourself), you can upload it here. (An existing image is NOT ESSENTIAL, but it can be more fun)
- Find the “Attach” button, which looks like a paperclip 📎 or a plus sign (+), located inside or right next to the message box.
- Click it, browse your computer or phone, and select the image you want to use. (You can also ‘drag and drop’ an image)
- You will see a tiny preview of your uploaded image appear in the chat area, confirming it has been added.
Step 3: Write Your Prompt
Now, you need to describe what you want the AI to do. This text description is called a “prompt.”
- Click inside the text box where it says “Message…” or “Type here.”
- Describe what you want to see in plain, natural English. Be as specific as you can!
- Example: “Put sunglasses and a colorful birthday hat on this dog, high-quality digital art style.”
- Tip: Tell the AI what to add, change, or create, and what style you’d like (e.g., “3D cartoon”, “realistic photo”, “watercolour painting”).
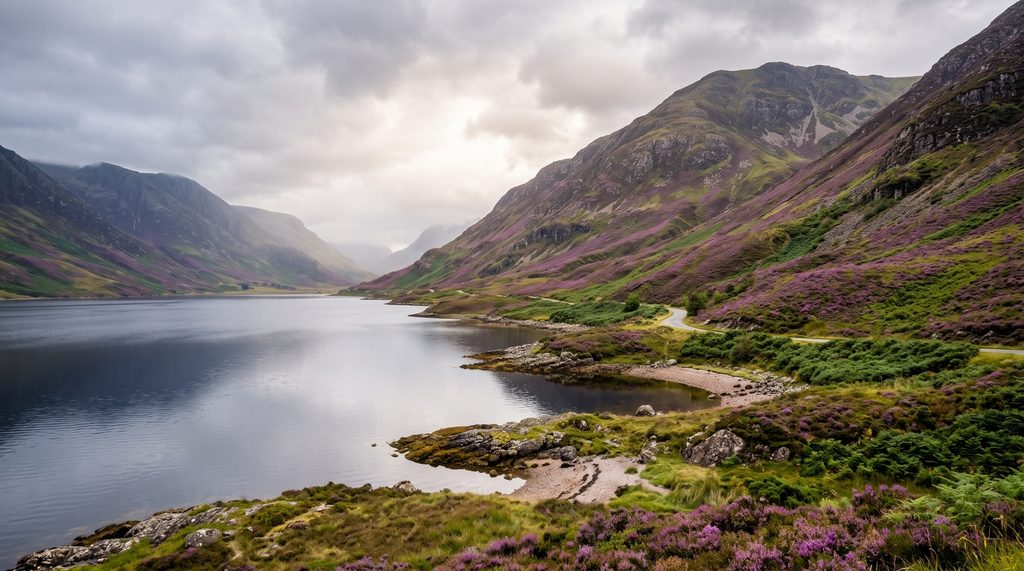
- IF you do not choose to use an image again just use plain, natural English and be as specific as you can! ( eg: Create an image of a typical Scottish Loch, surrounded by mountains covered in purple heather).
Step 4: Generate & View !
Once your image is uploaded and your description is typed, you are ready to let the AI go to work.
- Click the Send or Run button (which looks like a paper airplane or an upwards pointing arrow) on the right side of the text box.
- The AI will take a few seconds to process your request.
- Once finished, your brand-new, custom-generated image will appear right in the chat for you to view, download, and enjoy!